Thursday, December 10, 2009

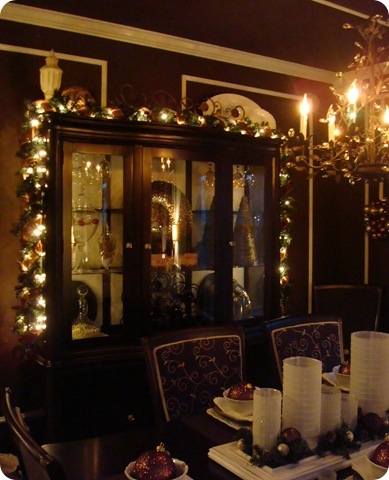
The dining hutch Christmasfied

020
So glad you loved the recipes! I bought more of the little cookies today at Target on sale – the snowmen cookies were $1.25, the reindeer were $1.75. (No more trees!) Not sure of the logic of the price difference, but I got a few more packages to make for a party this weekend. I may or may not have made some for myself tonight. Maybe.
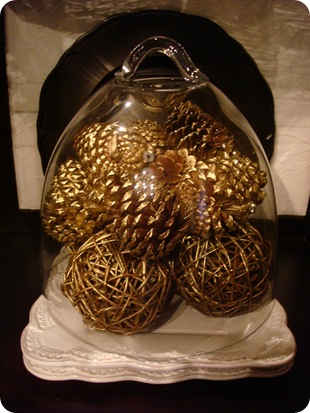
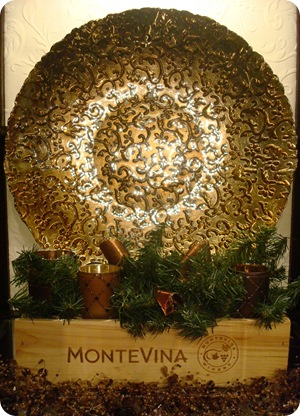
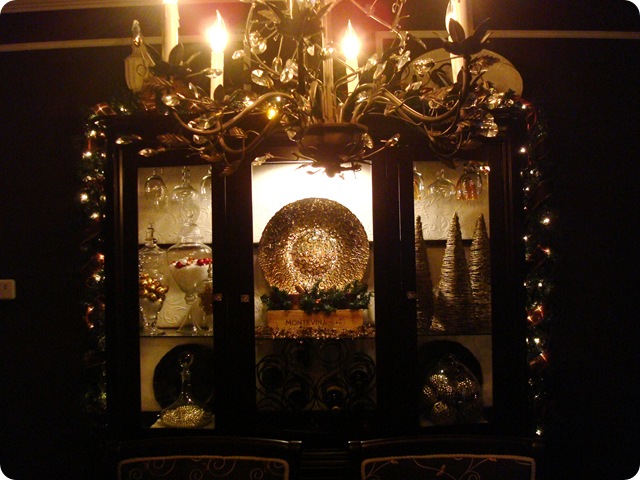
I finished decorating our dining room hutch last week and it was so easy and quick this year – I had everything labeled exactly where I had it last year! For this space, I just fill a bunch of glass “things” and I’m done. Last year, Stink Eye Sister was harassing me the whole time about it, and it was so relaxing not hearing that “meeehmeeeeehmeehblahblaaahblahblaaaaaaah” sound in my ear. (She finally moved out last month.) I do miss her, but Good Lord, it was about time. :)(Smooches sister!!!)
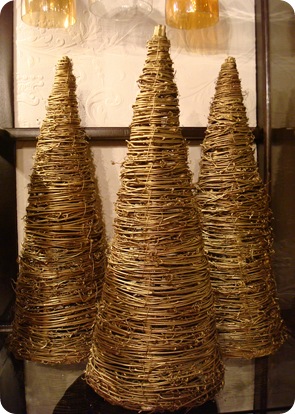
Last year Target had these gorg tall branchy trees and I told you to NOT buy them, because I made them myself years ago. Get the twiggy cone shaped trees from the craft store, then spray paint them whatever metallic color you wish, then add some sparkle spray paint on top of that. At least half the price of the department store trees! I spray paint just about anything I can get my hands on:
001 005
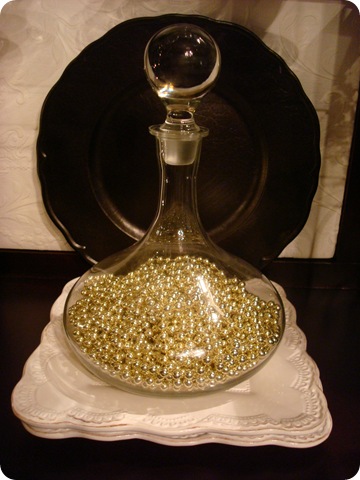
For my lovely decanter from Goodwill (score!), I just put one strand of gold beads inside:
007
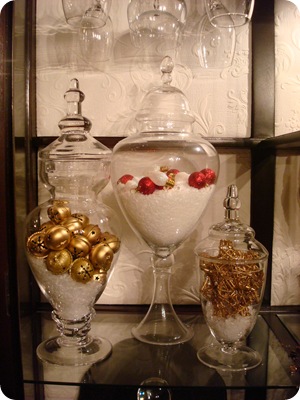
The apothecary jars are filled with faux snow, then topped with various inexpensive filler:
010009
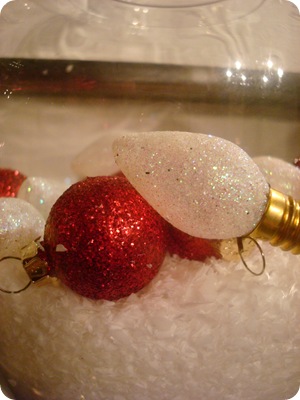
I don’t even know where I got the bells – I think the Dollar Store? The red ornaments were from Hob Lob half off – just a couple bucks I believe. The little white bulbs were actually on a strand of string as garland, but I cut them off so I could use them as filler. :)
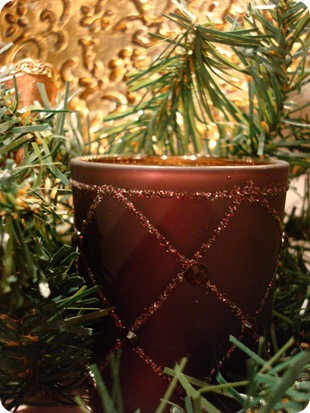
Since my little votive holders I got for fall were the absolute perfect colors for the dining room, I just nestled them in with some snips of greenery and leftover scraps of ribbon:
018015
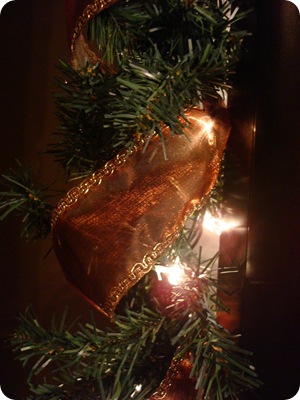
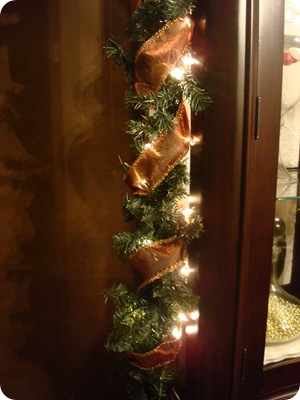
I hang a strand of garland around our hutch every year, and I realized some ribbon I had would look GORG wrapped around it. The color is perfect!:
039 040
I spent zero moola on this area this year! And what I have spent on it over the years is VERY little:
032
The dining table was my first Christmas decor project this year. If you missed it, check it out here.
024
Everything is D.O.N.E! We finished the large, live tree tonight. I can’t wait to show you! I hope you’ll join me for the Christmas Tree Party this coming Monday.
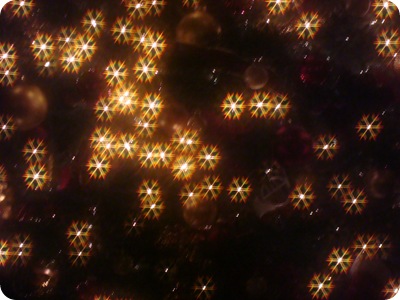
One of my favorite little splurges this year were the Christmas light goggles – have you seen these? You put them on and they turn every light into a little shape:


050


I took a picture through them and I couldn’t believe it turned out! We have snowflakes, stars and snowmen. Adorable. Only two bucks each at Lowe’s!
This time of year is so special to us. It’s not only the holidays -- our sweet Bub was due right after Christmas. But three years ago tonight, we were planning to meet him three weeks early, and I was induced on this day. I can’t believe tomorrow it will be that long since I met my most favorite person on Earth. I was rocking my “baby” tonight, remembering the first time they laid him down on me. So much joy. The way time flies – it is the understatement of the century that it goes by in a blink. :)

Sunday, December 6, 2009

How I throw a Christmas party

008

I LOVE to entertain – it is my joy sharing our home and having friends and family here, eating great food, drinking good drinks and laughing. Lots of laughter. :) This year, we will host three parties this month, and the first was this past weekend.
A few of my girlfriends and I get together every year for our annual ornament exchange. It’s been six or seven years now – none of can remember how many. (We’re getting old.) Since almost all of the Christmas decor is done, (except the main tree -- it just had lights, which was still beautiful), I was able to focus on my regular freak out preparation for the party.

Every time, I say to myself…”I’m not going to clean like crazy. No one will notice the dust on the table. No one will see the toys stuffed under the bed. No one will even go into most of the rooms of your home Sarah, sogetagripwoman!” Yeah. No one will know I’m super psycho and have to clean every inch. Crazy woman.

I don’t clean before the day of the party though – it’s just asking for a special dose of crazy. The little tornado in this house makes that impossible. :) So I’ve learned a trick so I can pace myself to get the house picked up impeccably clean in time for the party.

First step, send the Bub off to the ‘rents. Hubs was out of town, so it was just me. I turned up the ipod and set my timer – 20 minutes per room. I start with picking up, then vacuuming, then dusting. Once the timer goes off, I have to stop and move on.

This works for me because I’ll get lost in cleaning and keep going and going in a room if I don’t have that timer reminding me to move the heck on.

Once the cleaning is mostly done, it’s time to cook. Contrary to popular belief, I can cook. I do cook. I just don’t do it often. :) When it comes to parties, I have a few standbys that are cheap, easy and quick. You can totally make them in between dusting the family room and curling your hair:

Pinwheels

dash of pepper

2 tbsp onion

1/4 c bacon pieces

1/4 c black olives (chopped)

8 oz. cream cheese (softened)

package crescent rolls

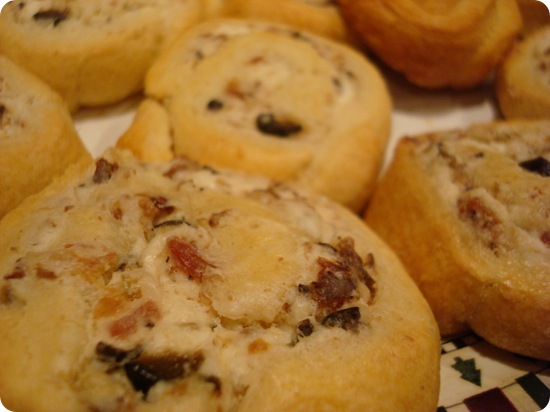
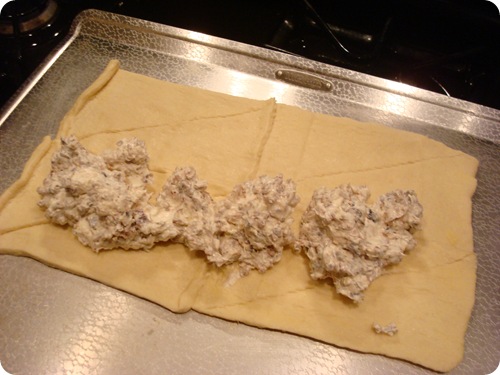
Mix all ingredients in a bowl. Take the crescent rolls and lay them out on a cookie sheet, smushing the edges together so it makes one large sheet of dough. Then just spread the mixture evenly all over:

004

(This picture was pre-spread.)

Then, just roll it up long ways, so it looks like this:

005

At this point, I like to put it in the fridge for a while so it firms up just a bit. Then, just cut it into sections, and bake for 15-20 minutes at 350 degrees.

YUM-O:

010

They are such a perfect mix of buttery roll, a teeny bit of onion and bacon flavor. Who doesn’t love bacon? Serious. Obviously you can take out or add whatever you want for your taste.

The next one is to. die. for. Do you love those cheddar biscuits from Red Lobster? Those buttery, flaky, uuuhmazing biscuits? These are from Southern Living and are so similar. And only three ingredients!

Tiny Cream Cheese Biscuits

one 8 oz. package cream cheese (softened)

1/2 c butter (softened)

1 c self-rising flour

Easiest recipe eva. Mix all ingredients with a mixer, (it will be very thick) then spoon the dough directly into mini muffin pans. Bake for 15-17 minutes at 400 degrees.

I didn’t take a picture of these because I was too busy eating them entertaining. But this is close to what they look like:

biscuits

(Source)

A friend said you can make your own self-rising flour, which I didn’t know! If you want that real Red Lobster taste, just mix in some cheese, or sprinkle some on the top after they are done. They are incredible without though. Seriously, you’ll thank me. :) Heaven in a teeny little biscuit.

I found the easiest cookie recipe, and the easy is mostly because it’s the cookies you get in the package, already cut. But with a few more minutes of work, they become especially scrumptious and adorable.

Three ingredient Christmas cookies

package Pillsbury Christmas tree cookies

one tub icing (you need very little)

sprinkles

Make the cookies as directed, then let cool. Take the bottom of one cookie and ice it (I always use whipped icing and it was especially good on these!). Then place another cookie on top, making a sandwich. Push them together so the icing smushes out, then roll in the sprinkles.

We were ALL surprised at how good these were. I added red hots to the trees just for some spice, but they are not needed:

007

I’m not even kidding, these were SO GOOD. Makes me what to make more right this very minute. Yums.

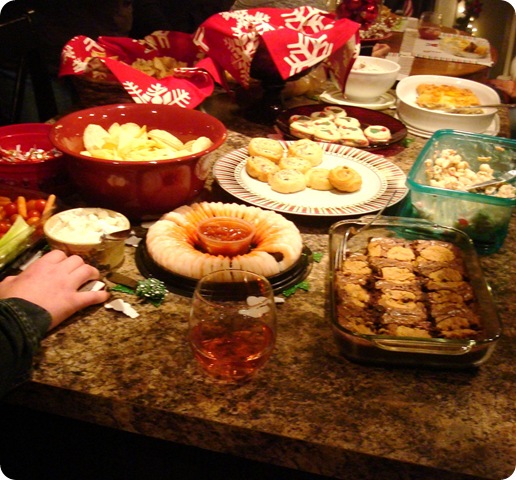
There were only ten of us and we ended up having a TON of food (this wasn’t all of it!):

013But we ate most of it. ;) The beverage of the evening was Sangria, and it is absolutely my new favorite drink. So sweet and fresh and fruity. I’ll show you how I make that after the upcoming Mexican Fiesta!

Are you hosting family and friends this month? Do you go with the flow to prepare or there others like me out there? (Please say yes.) This was the smallest of our three parties, which was a good way to start off the season. Can’t wait for the next two – I just wish they were this week, cause my house is still clean.

I’m off to eat some biscuits peeps.

Friday, December 4, 2009

Sleeping under the stars

012

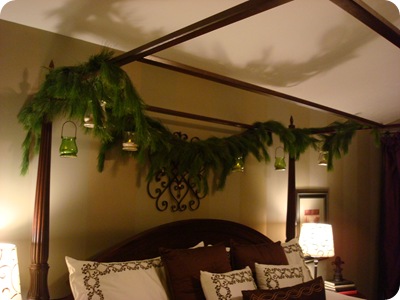
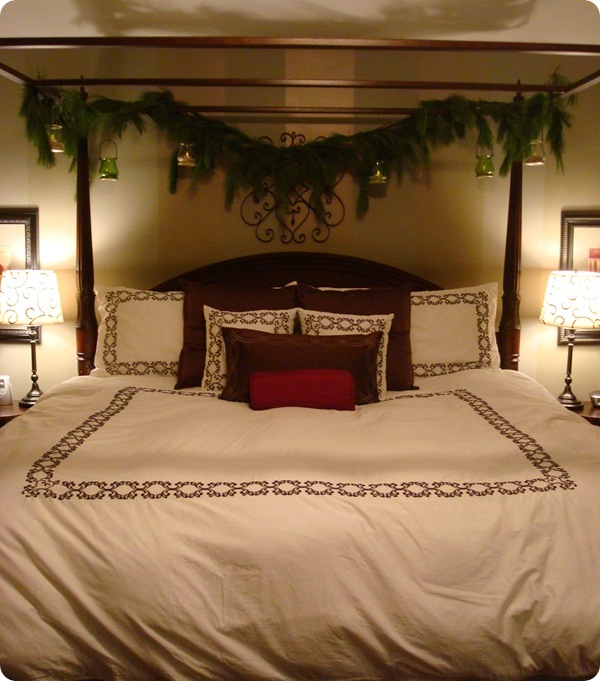
I made my bed for this post peeps. This is BIG. HUGE. I hate making our bed. So you know it’s something I really want to show you. :) I have to tell you, this is one of my most favorite Christmas decorations I’ve ever done. And it’s somewhere you would never guess – our bed! (Now now now – get your heads out of the gutter! This is a PG blog.) :)

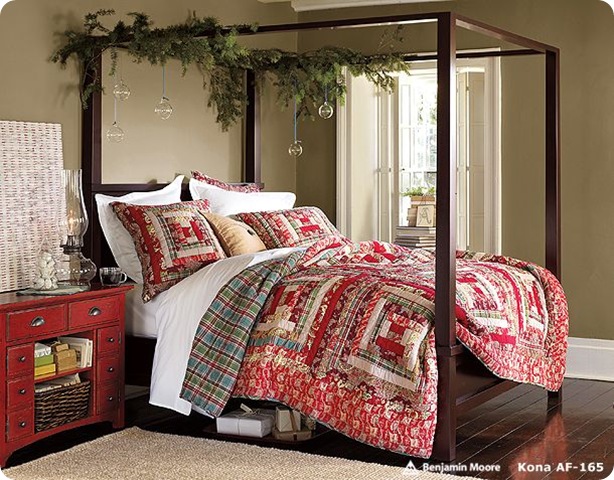
It all started with this photo I saw in the Pottery Barn catalog a couple months ago:

bedroom

I don’t know why, but I fell absolutely head over heels in love with the idea of greenery draped over the canopy rails and the little ornaments hanging down. How dreamy. For weeks I’ve been planning how I could do the same.

I thought I would just use some greenery I already had, but when all was said and done this week, I had little left to use. All I had was the skimpy dollar store garland, and I tried to beef it up by weaving some together, but it just wasn’t right. So because I wanted to do this so bad, I took another trip to Big Lots for the natural looking greenery from our mantel.

But then…THEN…during a quick stop to Lowes, I found IT. Real white pine greenery – in all it’s fabulous, silky fluffiness. It was gorg. I kept petting it and loving on it and putting it in and out of my cart. I’ve never bought real greenery for decor – I use cuttings from our tree and that’s it. So spending money on something that was going to dry up in a few weeks was like pulling my teeth.

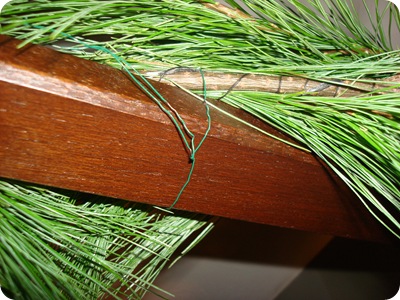
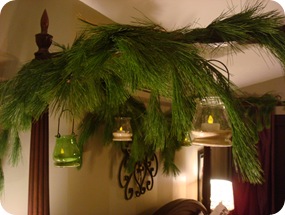
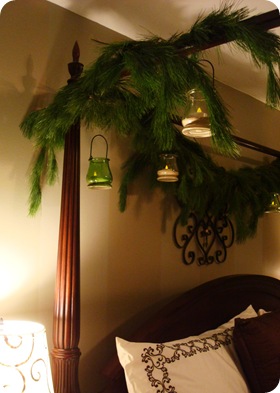
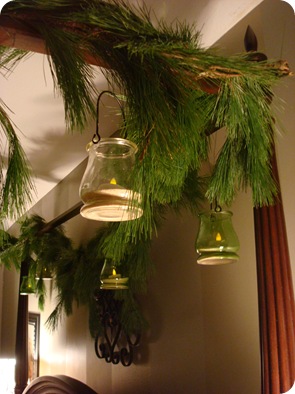
BUT it was just $7 for 20 feet. And it was so soft and droopy and I was in lurve. I took it home. I started by halving the greenery, then draping it around the rails. I secured it here and there with floral wire:

026

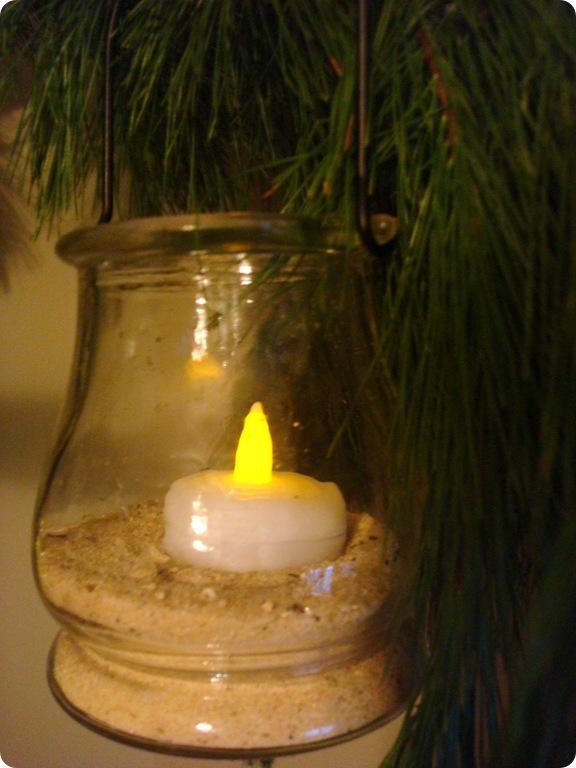
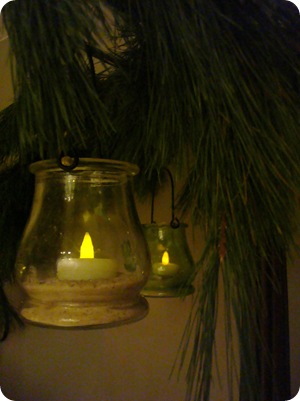
I knew from the very start what I would use instead of the ornaments – my dollar spot lanterns from Target! I took them right out of the outdoor storage bench, and even kept the sand in them:

042 010

I used my little LED lights so there’s no danger of fire! (That’s the important part.) I can easily access them to turn them off, but they have so many hours of power, I may just leave them on.

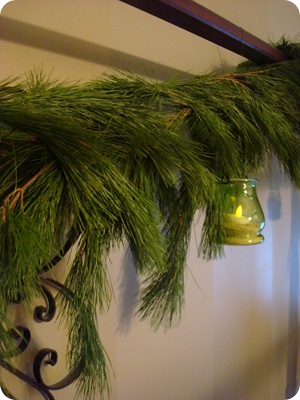
I just tied up the lanterns with floral wire as well, and varied the lengths:

050021

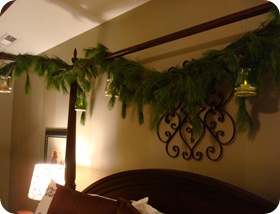
Oh my goodness gracious holy canoly shut the front door. I. love. it.

017027

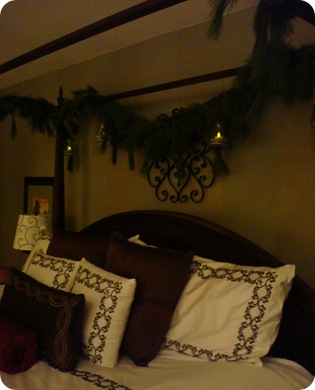
This is how it looks with the lights down low:

035

The tag says to mist the greenery with water to keep it fresh longer. I really hope it holds up – anyone know how long it will last?

023

Hubby loved it so much, he asked “Can we just leave it up all year?” Serious as a heart attack. Be still my heart, I love that man.

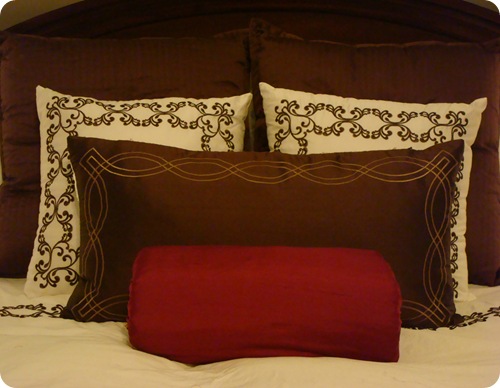
I’ve done a few other little things in our bedroom I’ll show you soon, but one last thing for tonight is the red “pillow” on the bed:

054

Please ignore the massive divots in the mattress. Those showed up pretty much immediately and they drive me mad! Taking pics of our bed gives me hives because of them. The poor red pillow is sinking into an abyss.

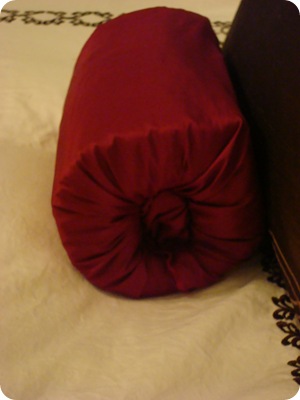
I wanted just a pop of red on the bed, and thought about buying a red pillow, but then remembered something I had seen somewhere in blogland – a pillow made out of a towel!:

044

I just took a towel, rolled it up, then rolled it up in the red silk (that I already had). To secure it, I stuck the fabric into the each end:

047

This is temporary, of course. But it has my mind going – with some batting to make it more substantial, and a bit more work, this could be a “real” pillow!

Our bedroom is one of our favorite rooms in the house – we just love being in there. So last year I started decorating just a bit for Christmas and it’s just dreamy. Hanging the greenery took very little time and total cost was $7. Totally worth it to sleep under twinkling lights. ;)

Thursday, December 3, 2009

The kitchen trees

116

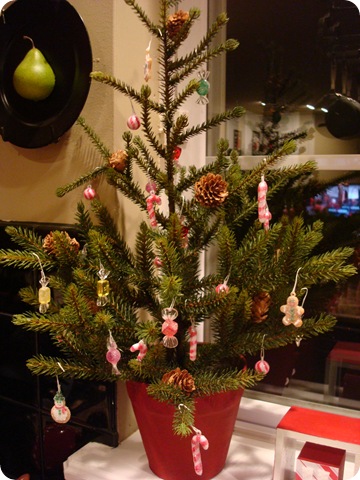
Ain’t he caaaute?! For years I’ve wanted a fun little Christmas tree for the kitchen, and a couple years ago I found an itty bitty tree that I fell in LOVE with. I got it for about $12, which is more than I would normally pay, but it is so real looking, I couldn’t resist:

117

I found itty bitty ornaments for the itty bitty tree, and this year I painted the plain pot red to make it a bit more festive. Cute, eh?

Well, last year I found the deal of the century (echo, echo) at Michael’s after Christmas. I could swear I blogged about it, but I can’t find it. I believe the tree was regularly about $80 (I think!) and because it was the last one and it was on display, I talked to the manager and got it for $15 (I think!). I can’t remember specifics but it was a STEAL. (Don’t be afraid to ask about items on the “floor” – you can usually talk them down on those.)

I skipped out of the store with glee, and I could cause the manager even carried it out and put it in my car for me. ;) This started a whole new Christmas look for our kitchen. I was obsessed with these little glass birdy ornaments last year at Target:

133

And the morning after Christmas (I don’t do black Friday – I do the day after sales) I knocked some women out of the way grabbed some more of these cuties for $1.50 two. From there I went with a whole red and white scheme:

 136 138

I bought ALL of these ornaments for at least half off after Christmas – I added them all up and I think they came to about $15 for all of ‘em. Even the ribbon was half price. (Score!)

140 Instead of hanging the birds as they came (two hung together), I cut the ribbon and hung them separately to fill out the tree more.

I adore this tree – it’s all sparkly and fancy. And it sheds glitter like you would not believe. It’s made up of two different types of greenery as well, which I lurve:

 152 151

Can you believe I’ve never made a bow? Not ever? I have wanted one of those bow maker thingamabobs foreva and finally bought one last week (only $6 with a coupon at Hob Lob!). I made a little bow with what ribbon I had left for the topper. The skirt came from the Dollar Store:

154 143

(The base came with the tree, which makes it even more of a steal.)

It fits just perfect in this spot. I adore my red and white sparkly tree!

 156

The whole kitchen is decked out in red and white this year – I’ll show you soon!

I can’t wait to show you what I worked on today!! Ohhhh I love it so much I could just die! Drama, I know, but it really is loverly (at least I think so). I'll show you tomorrow. I’ll give you a hint and tell you I’ve discovered just about the only thing our Dyson doesn’t suck right up is fresh, white pine needles. ;)

Tuesday, December 1, 2009

Deck the stairs

024

First of all, let me say my heart is FULL. I really can’t express how grateful I am for your sweet words and prayers. I feel so incredibly fortunate to have “met” you all through this blog. Our family is lucky to have you. I haven’t shown my husband quite yet, because I know he’ll be overcome by all of your support. I will show him very soon though, when the time is right. For now, I continue to be very thankful.

Sniff. OK, I must move on, there’s no crying in blogging!! (Name that movie.)

I’ve been raiding the Dollar Store like mad this year for Christmas decor, but otherwise, I’m trying really hard to watch how much new stuff I buy. Stop laughing at me, I’m totally serious. (About the trying hard part.)

So instead, if there is something I wasn’t nuts about in past years, I am trying to rework it with what I have (like our mantel) or at least be cheap about the redo. Today I worked on our staircase.

Let me preface this by saying I kick myself in the pants EVERY year at Christmas because one of the choices I made when we built our house. My husband wanted our staircase and loft wall to all be railings. I, on the other hand, was hyperventilating at the thought of spending more money and assured him the walls would be just fine.

Pushaw. I am SO annoyed with myself that we didn’t do the railings. Especially at Christmas – I adore staircases with beautiful garland weaved in an out of all of those gorg railings. Sigh.

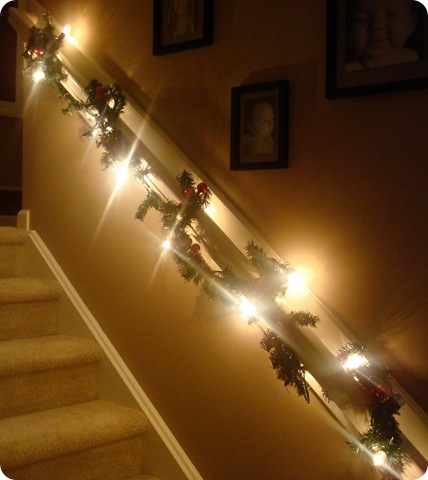
But, just because I don’t have them doesn’t mean I can’t make ours look beautiful too! In years past, I’ve wrapped garland with lights around the hand rail:

DSC06726

I really did love it, but I had a little issue with the fact that it was hard to hold onto the railings with this on there. That always bothered me quite a bit. Especially with my tendency to fall down stairs. ;)

And, I’ll just admit it – I was lazy this year. The wrapping takes eons. So this year I tried to simplify it a bit by just hanging the garland at each end of the railing and swag it up in the middle.

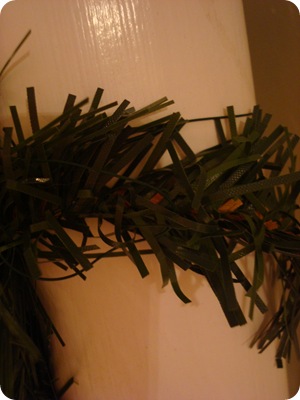
Problem was, when I did that, all the sudden the garland was wimpy, wimpy, wimpy! Ugh, I cannot stand wimpy garland. Gives me hives. I took some simple greenery I bought at Michael's back in September uhhhh, just last week, (sure) and wrapped it around a couple times to add some fluff:

005028

Quiz time! See the two garlands above? One is from the dollar store (15 feet), one is from Michael’s (18 feet). Can you tell the difference? The one on the right is from Michael's, but the difference is sooooo small, I say save the four bucks and go for the dollar stuff!

I had already added the plastic bulbs to the greenery years ago, so I just adjusted them so they peeked out again. To swag it in the middle, I used floral wire and covered it with a few pieces of greenery:

031036

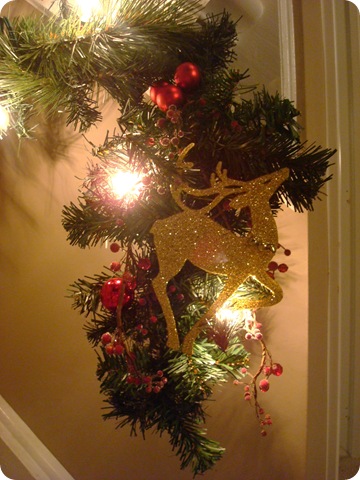
I had little swags I used to put on my doorknobs in the past, but in my effort to simplify a bit this year, I wasn’t going to use them. So I just added them to the ends of the garland, then added one of my dollar store reindeer ornaments for some glitter:

022

The ornaments were actually two for a buck, and I just love them. :)

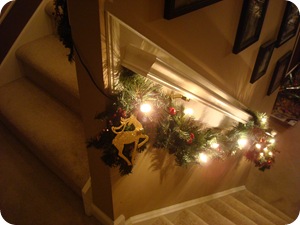
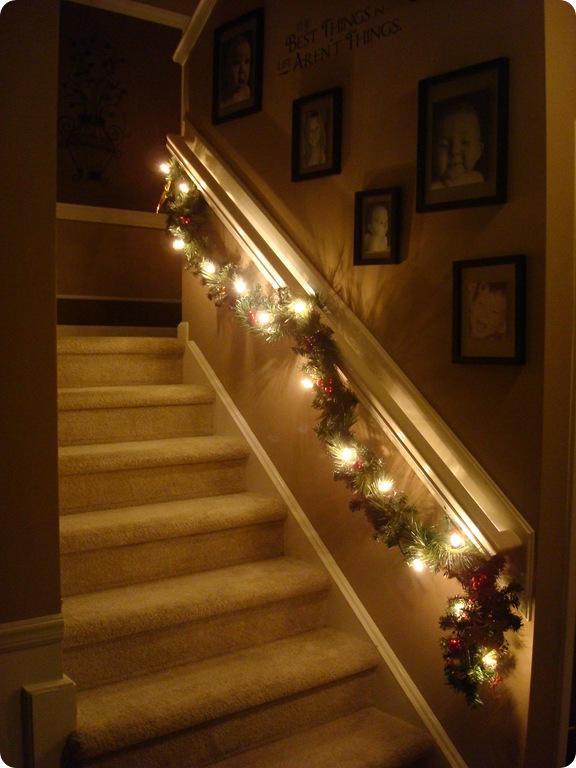
The lights are plugged in at the top of the stairs – I just wrap the cord around at the landing, then plug them in with an extension cord at the top:

033 035

I KNOW. Cords. Blech. I’m taking care of that tomorrow, mark. my. words.

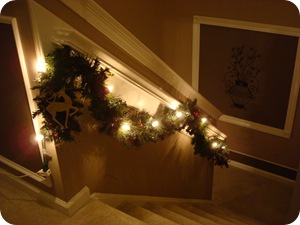
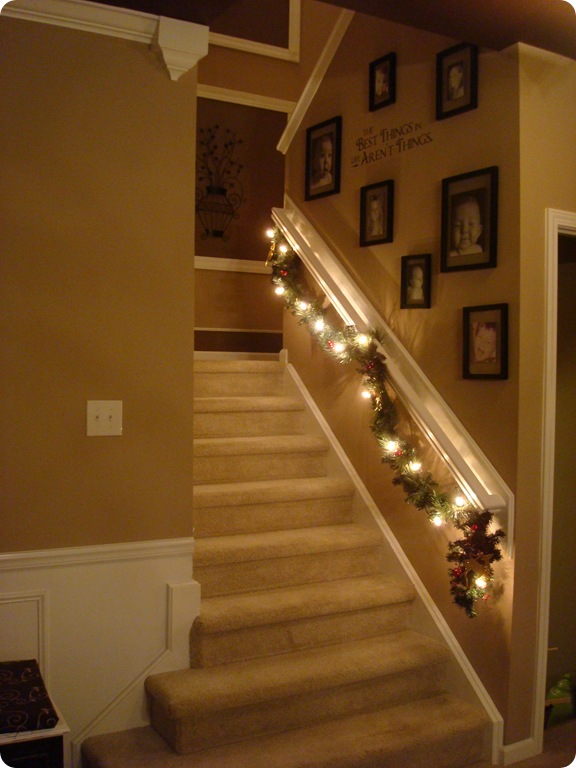
I’m really pleased with the final result:

017

A little simpler, a whole bunch more fluff and it was much easier to hang this year. Just because you don’t have a beautiful staircase with gorg railings doesn’t mean you can’t make it look festive and pretty. Same with mantels – use a shelf, a ledge or an armoire and treat it as your “mantel.”

I have a massive project coming up with this staircase. I am so excited I can barely stand it. I was soooo hoping to have it done before the holidays, but it’s going to be the biggest project I’ve ever done so I want to give it plenty of time. I cannot WAIT to get started!!

For now, I’m happy. I’ll leave you with my standard nighttime shot. ;)

045

Thank you all so much again.

P.S. I believe “railings” were mentioned about 56 times.

P.P.S. Happy birthday to my LOVE, my best friend, my hubby!!!